

Efficient User Management: Adding User Status in Laravel UI
Step 1: Install Laravel
Begin by creating a new Laravel project:
composer create-project --prefer-dist laravel/laravel laravel-status
Step 2: Install Laravel UI and Auth
Install Laravel UI with Bootstrap auth scaffolding:
composer require laravel/ui
php artisan ui bootstrap --auth
Step 3: Modify the Users Table Migration
Open the migration for the users table and add status column:
 Schema::create('users', function (Blueprint $table) {
            $table->id();
            $table->string('name');
            $table->string('email')->unique();
            $table->string('phone')->unique()->nullable();
            $table->string('image')->nullable();
            $table->boolean('status')->default(1);
            $table->timestamp('email_verified_at')->nullable();
            $table->string('password');
            $table->rememberToken();
            $table->timestamps();
            $table->softDeletes();
        });
Step 4: Run Migrations
Execute the migrations to apply changes to the database:
php artisan migrate
Step 5: Create the CheckUserStatus Middleware
Generate a middleware named CheckUserStatus:
php artisan make:middleware CheckUserStatus
Add the logic provided earlier for the CheckUserStatus middleware in the generated file (app/Http/Middleware/CheckUserStatus.php).
<?php

namespace App\Http\Middleware;

use Closure;
use Illuminate\Support\Facades\Auth;

class CheckUserStatus
{
    public function handle($request, Closure $next)
    {
        $user = Auth::user();

        if ($user && !$user->status) {
            Auth::logout(); // Log out the user
        //$request->session()->invalidate();
            return redirect()->route('login')->with('account_on_hold', 'Your account is on hold. Please contact the administrator.');
        }

        return $next($request);
    }
}
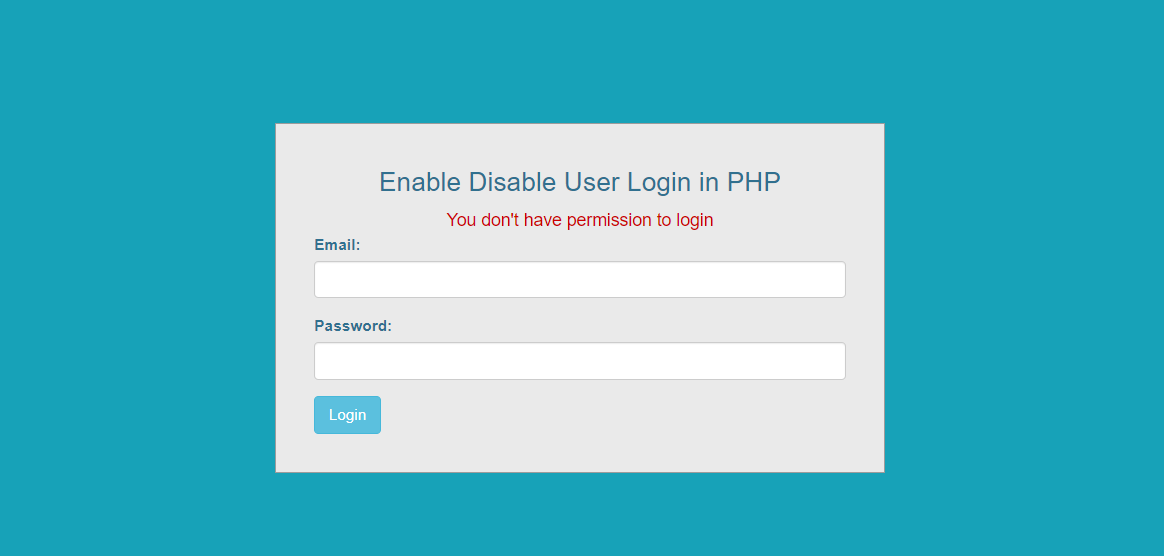
Step 6: Implement Error Message Blade Code
Create a blade view file (e.g., error.blade.php) in the resources/views directory. Insert the error message display code
@if (session('account_on_hold'))
<div class="alert alert-danger alert-dismissible fade show" role="alert">
{{ session('account_on_hold') }}
<button type="button" class="close" data-dismiss="alert" aria-label="Close">
<span aria-hidden="true">×</span>
</button>
</div>
@endif
Step 7: Configure Middleware in the Kernel
In App\Http\Kernel.php, register the CheckUserStatus middleware in the $routeMiddleware array:
'checkUserStatus' => \App\Http\Middleware\CheckUserStatus::class,
Step 8: Integrate Middleware in Routes
Apply the check_user_status middleware to routes or route groups where user status verification is necessary:
Route::group(['middleware' => ['auth', 'verified','checkUserStatus'], 'prefix' => 'admin'], function () {
    Route::resource('roles', RoleController::class);
    Route::resource('settings', SettingController::class);
});
Step 9: Conclusion
You've now set up a Laravel application, integrated Laravel UI with authentication, added a 'status' column to the users table via migration, implemented middleware for user status verification, and configured error message display for account status issues. This setup allows you to manage user access based on their status efficiently.
Share :