


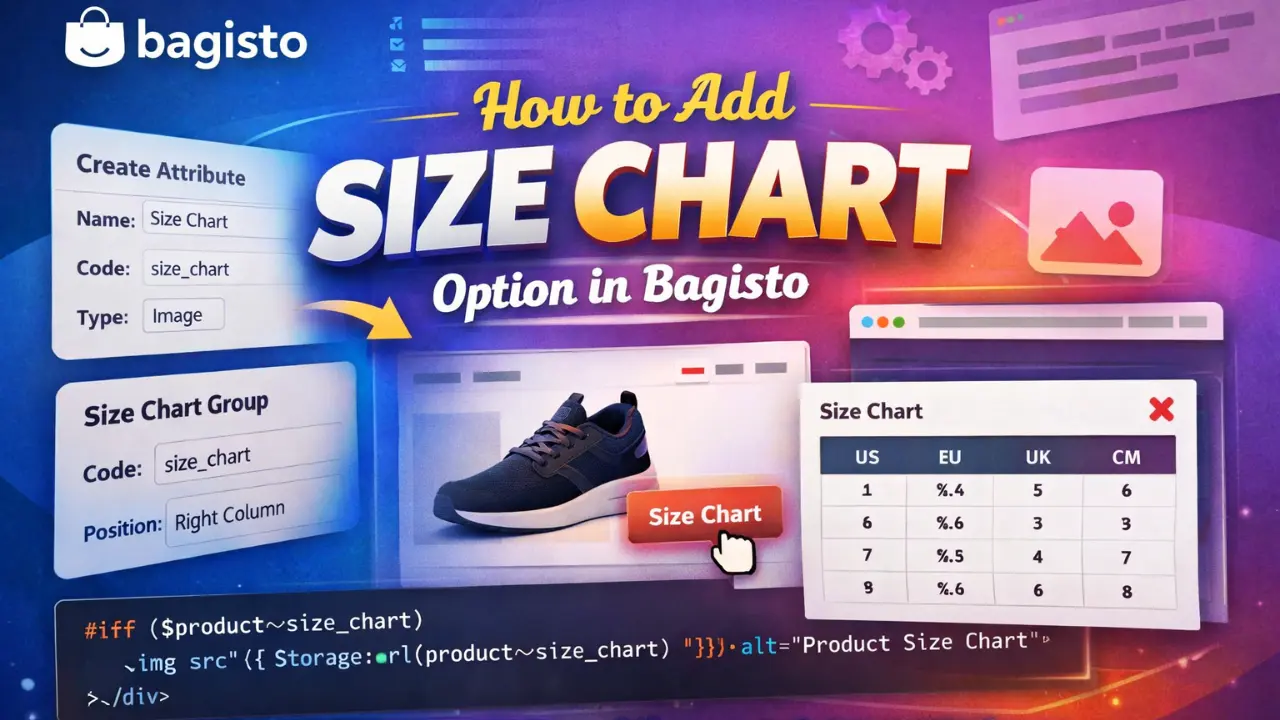
How to Add a Size Chart Option in Bagisto - Step-by-Step Guide
Adding a Size Chart option in your Bagisto store is very important, especially for fashion, apparel, footwear, and accessories websites. A clear size chart helps customers choose the right size, reduces return rates, and improves overall customer satisfaction.
In this blog, I’ll explain how to add a Size Chart option in Bagisto step by step, using Bagisto’s attribute system and a small Blade template customization. This guide is SEO-friendly, beginner-friendly, and works well with Bagisto 2.x.
Why Add a Size Chart in Bagisto?
Before we jump into the steps, let’s understand why size charts are important:
-
Reduces product returns due to wrong sizing
-
Improves buyer confidence
-
Enhances user experience
-
Essential for fashion and clothing stores
-
Improves conversion rate
Bagisto already provides a powerful attribute management system, which we will use to implement the size chart feature cleanly and professionally.
Overview of the Implementation
We will complete the setup in four main steps:
-
Create a new attribute (Size Chart)
-
Add a new attribute group in Attribute Family
-
Assign the Size Chart attribute to the group
-
Display the Size Chart on the product detail page
Step 1: Create Size Chart Attribute in Bagisto
First, we need to create a new attribute that will store the size chart image.
Steps:
-
Login to Bagisto Admin Panel
-
Navigate to:
Dashboard → Catalog → Attributes → Create Attribute
-
Fill the attribute details as follows:
-
Name: Size Chart
-
Attribute Code:
size_chart -
Attribute Type: Image
-
Configure other options as per your requirement (scope, visibility, etc.)
-
Click Save Attribute
📌 Why Image Type?
Using an image attribute allows you to upload a custom size chart image for each product. This is perfect when different products have different sizing standards.
Step 2: Create Size Chart Group in Attribute Family
Now we’ll create a dedicated group inside the attribute family to keep the size chart organized.
Steps:
-
Go to:
Catalog → Attribute Families
-
Edit the attribute family used by your products (usually Default)
-
Click on Add Group
-
Enter the following details:
-
Code:
size_chart -
Name: Size Chart
-
Column: Right Side Column
-
Save the group
📌 Tip: Placing it in the right column keeps the admin product form clean and well-structured.
Step 3: Assign Size Chart Attribute to the Group
Once the group is created, we need to assign the Size Chart attribute to it.
Steps:
-
In the same Attribute Family edit page
-
Find the Size Chart attribute in the attribute list
-
Drag and drop it into the newly created Size Chart group
-
Click Save Attribute Family
Now your product edit page will show a Size Chart image upload field.
Step 4: Display Size Chart on Product Detail Page
This is the final and most important step. We will display the size chart on the frontend product page using a drawer popup.
File Location
Edit the following Blade file:
packages/Vfixtechnology/AuraTheme/src/resources/views/products/views.blade.php
@if ($product->size_chart)
<div class="size-chart-wrapper pt-4">
<x-shop::drawer>
<x-slot:toggle>
<div class="inline-flex items-center cursor-pointer border border-gray-200 rounded-sm px-2.5 py-1 hover:bg-gray-50 transition-all shadow-sm group">
<i class="fas fa-chart-bar text-gray-500 text-sm"></i>
<span class="ml-2 font-bold text-xs uppercase text-gray-600 tracking-wider">Size Chart</span>
</div>
</x-slot>


<x-slot:header>
<div class="flex items-center justify-between w-full px-2">
<h2 class="text-xl font-bold text-gray-800">Size Chart</h2>
<div class="drawer-close-icon cursor-pointer group/close p-2">
<i class="fas fa-times hidden transition-all duration-300 group-hover/close:block text-red-500"></i>
</div>
</div>
</x-slot>


<x-slot:content>
<div class="size-chart-content p-4">
<img
src="{{ Storage::url($product->size_chart) }}"
alt="Product Size Chart"
class="w-full h-auto"
>
</div>
</x-slot>
</x-shop::drawer>
</div>


<style>
/* Header padding fix */
.grid.p-6.gap-5.border-b {
padding: 15px 20px !important;
}


/* Mobile full-screen drawer */
@media (max-width: 767px) {
.fixed.inset-y-0.right-0 {
width: 100% !important;
max-width: 100% !important;
}
}


/* Desktop drawer width */
@media (min-width: 768px) {
.fixed.inset-y-0.right-0 {
width: 400px;
}
}
</style>
@endif
How This Works:
-
The code checks if the product has a
size_chartvalue -
A clickable Size Chart button is displayed
-
On click, a drawer opens from the right
-
The uploaded size chart image is displayed
-
Fully responsive for mobile and desktop
SEO & UX Benefits:
-
Improves product page quality
-
Reduces bounce rate
-
Enhances customer trust
-
Ideal for Google SEO best practices
-
Better Core Web Vitals with clean UI
Final Thoughts
Adding a Size Chart option in Bagisto is simple yet powerful when implemented correctly. By using Bagisto’s attribute system and a clean Blade customization, you get a scalable, reusable, and professional solution.
This method works perfectly for:
-
Clothing stores
-
Fashion marketplaces
-
Shoe & accessory websites
-
Custom apparel platforms
If you are building a custom Bagisto theme or module, this approach fits seamlessly into production-level projects.
Need Help with Bagisto Customization?
If you want help with:
-
Bagisto theme customization
-
Custom attributes & UI
-
Payment gateway integration
-
Performance optimization
Feel free to reach out 🚀
Whatsapp: https://wa.me/918447525204
Or Call on: +91 8447 525 204
Happy coding with Bagisto! 😊
Share :