

How to Set Up Social Login in Laravel Using Socialite - Google, Facebook, LinkedIn, GitHub & More
Social login allows users to sign in quickly using their existing accounts like Google, Facebook, GitHub, or LinkedIn, making authentication faster and smoother.
Before using Socialite, your Laravel app must have basic authentication implemented. This is because Socialite only handles OAuth login flow — it does not create login pages, sessions, or registration logic on its own.
For example, if you are using Laravel UI, you can set up authentication like this:
1️⃣ Install Laravel UI (if not already installed)
composer require laravel/ui
2️⃣ Generate auth scaffolding with Bootstrap
php artisan ui bootstrap --auth
This will generate:
-
Login and registration pages (
login.blade.php,register.blade.php) -
Routes for authentication (
/login,/register) -
Controllers like
LoginControllerandRegisterController
3️⃣ Install front-end dependencies
npm install
npm run build
Now, your app has a working login system, which Socialite can integrate with.
✅ Socialite works with this auth system to allow users to login via social providers. Once Socialite gets the OAuth user info, it will either log them in or create a new user in your
userstable.
Reference/Official Link: Laravel UI Docs
Step 1: Install Laravel Socialite Package
Open your terminal and run the following command:
composer require laravel/socialite
🧱 Step 2: Update the Users Table Migration
Now we need to store the social IDs (like Google ID, Facebook ID, etc.) in the users table.
Create a new migration using the command:
php artisan make:migration add_social_columns_to_users_table --table=users
Then, replace the content of the migration file with the following:
<?php

use Illuminate\Database\Migrations\Migration;
use Illuminate\Database\Schema\Blueprint;
use Illuminate\Support\Facades\Schema;

return new class extends Migration
{
    public function up(): void
    {
        Schema::table('users', function (Blueprint $table) {
            $table->string('google_id')->nullable()->unique()->after('password');
            $table->string('facebook_id')->nullable()->unique()->after('google_id');
            $table->string('github_id')->nullable()->unique()->after('facebook_id');
            $table->string('gitlab_id')->nullable()->unique()->after('github_id');
            $table->string('bitbucket_id')->nullable()->unique()->after('gitlab_id');
            $table->string('slack_id')->nullable()->unique()->after('bitbucket_id');
            $table->string('twitch_id')->nullable()->unique()->after('slack_id');
            $table->string('twitter_openid_id')->nullable()->unique()->after('twitch_id');
            $table->string('linkedin_openid_id')->nullable()->unique()->after('twitter_openid_id');
        });
    }

    public function down(): void
    {
        Schema::table('users', function (Blueprint $table) {
            $table->dropColumn([
                'google_id',
                'facebook_id',
                'github_id',
                'gitlab_id',
                'bitbucket_id',
                'slack_id',
                'twitch_id',
                'twitter_openid_id',
                'linkedin_openid_id'
            ]);
        });
    }
};
Run the migration:
php artisan migrate
Make sure in user model add all fields as proctected $fillable for mass assignment:
protected $fillable = [
    'name',
    'email',
    'password',
    'google_id',
    'facebook_id',
    'github_id',
    'gitlab_id',
    'bitbucket_id',
    'slack_id',
    'twitch_id',
    'twitter_openid_id',
    'linkedin_openid_id'
];
🔐 Step 3: Add Social Credentials in .env
Next, add all the required client IDs, client secrets, and redirect URLs for each platform in your .env file.
# --- Socialite Configuration for Official Drivers ---

# Google
GOOGLE_CLIENT_ID="YOUR_GOOGLE_APP_ID"
GOOGLE_CLIENT_SECRET="YOUR_GOOGLE_APP_SECRET"
GOOGLE_REDIRECT_URI="${APP_URL}/auth/google/callback"

# Facebook
FACEBOOK_CLIENT_ID="YOUR_FACEBOOK_APP_ID"
FACEBOOK_CLIENT_SECRET="YOUR_FACEBOOK_APP_SECRET"
FACEBOOK_REDIRECT_URI="${APP_URL}/auth/facebook/callback"

# GitHub
GITHUB_CLIENT_ID="YOUR_GITHUB_CLIENT_ID"
GITHUB_CLIENT_SECRET="YOUR_GITHUB_CLIENT_SECRET"
GITHUB_REDIRECT_URI="${APP_URL}/auth/github/callback"

# LinkedIn (OpenID)
LINKEDIN_OPENID_CLIENT_ID="YOUR_LINKEDIN_CLIENT_ID"
LINKEDIN_OPENID_CLIENT_SECRET="YOUR_LINKEDIN_CLIENT_SECRET"
LINKEDIN_OPENID_REDIRECT_URI="${APP_URL}/auth/linkedin-openid/callback"
⚙️ Step 4: Update config/services.php
Open your config/services.php file and add the following:
'google' => [
    'client_id' => env('GOOGLE_CLIENT_ID'),
    'client_secret' => env('GOOGLE_CLIENT_SECRET'),
    'redirect' => env('GOOGLE_REDIRECT_URI'),
],

'facebook' => [
    'client_id' => env('FACEBOOK_CLIENT_ID'),
    'client_secret' => env('FACEBOOK_CLIENT_SECRET'),
    'redirect' => env('FACEBOOK_REDIRECT_URI'),
],

'github' => [
    'client_id' => env('GITHUB_CLIENT_ID'),
    'client_secret' => env('GITHUB_CLIENT_SECRET'),
    'redirect' => env('GITHUB_REDIRECT_URI'),
],

'linkedin-openid' => [
    'client_id' => env('LINKEDIN_OPENID_CLIENT_ID'),
    'client_secret' => env('LINKEDIN_OPENID_CLIENT_SECRET'),
    'redirect' => env('LINKEDIN_OPENID_REDIRECT_URI'),
],
🧠 Step 5: Create Socialite Controller
Now, create a controller to handle all social login logic.
php artisan make:controller Auth/SocialiteController
Then paste the following code:
<?php

namespace App\Http\Controllers\Auth;

use App\Http\Controllers\Controller;
use App\Models\User;
use Illuminate\Http\Request;
use Illuminate\Support\Facades\Auth;
use Laravel\Socialite\Facades\Socialite;
use Laravel\Socialite\Two\User as SocialiteUser;
use Illuminate\Support\Str;

class SocialiteController extends Controller
{
    /**
     * List of all official Socialite providers supported.
     * This list is used for validation and database field naming.
     */
    protected $officialProviders = [
        'github',
        'google',
        'facebook',
        'gitlab',
        'bitbucket',
        'slack',
        'twitch',
        'twitter-openid', // Twitter (X) now uses the OpenID flow
        'linkedin-openid', // LinkedIn also uses the OpenID flow
    ];

    /**
     * Redirect the user to the OAuth Provider.
     *
     * @param string $provider
     * @return \Illuminate\Http\Response
     */
    public function redirectToProvider(string $provider)
    {
        if (!in_array($provider, $this->officialProviders) || !config("services.{$provider}")) {
             // Abort if the provider is not supported or misconfigured
             abort(404, "Socialite provider {$provider} not supported or configured.");
        }

        // Redirect to the social provider's authorization page
        return Socialite::driver($provider)->redirect();
    }

    /**
     * Obtain the user information from the OAuth Provider and handle login/creation.
     *
     * @param string $provider
     * @return \Illuminate\Http\Response
     */
    public function handleProviderCallback(string $provider)
    {
        if (!in_array($provider, $this->officialProviders)) {
             abort(404);
        }

        try {
            // Retrieve the user from the social provider
            $socialiteUser = Socialite::driver($provider)->user();
        } catch (\Exception $e) {
            // Handle exceptions (e.g., user denied access, invalid state/CSRF token)
            return redirect()->route('login')->withErrors(['email' => 'Authentication failed. Please try again or choose a different method.']);
        }

        // Centralized logic to find or create the user and assign the role
        $user = $this->findOrCreateUser($socialiteUser, $provider);

        // Log the user into the application
        Auth::login($user, true);

        return redirect()->intended('/admin/dashboard'); // Add your dashboard link
    }

    /**
     * Finds user by provider ID or email, creates if necessary, and assigns 'subscriber' role using Spatie.
     *
     * @param SocialiteUser $socialiteUser
     * @param string $provider
     * @return User
     */
    protected function findOrCreateUser(SocialiteUser $socialiteUser, string $provider): User
    {
        // Normalize the provider key for database column names (e.g., 'twitter-openid' becomes 'twitter_openid_id')
        $providerKey = str_replace('-', '_', $provider);
        $providerIdField = "{$providerKey}_id";

        // 1. Check if user already exists via the social provider's unique ID
        $user = User::where($providerIdField, $socialiteUser->getId())->first();

        if ($user) {
            // User exists and is linked to this social account.
            // DO NOT assign any role as per requirement.
            return $user;
        }

        // 2. Check if user exists via email (for account linking)
        $user = User::where('email', $socialiteUser->getEmail())->first();

        if ($user) {
            // User exists by email, link the social ID to the existing account.
            // DO NOT assign any role as per requirement.
            $user->update([
                $providerIdField => $socialiteUser->getId(),
            ]);
            return $user;
        }

        // 3. User does not exist, so create a new one.
        $user = User::create([
            'name' => $socialiteUser->getName() ?? $socialiteUser->getNickname() ?? 'New Social User',
            'email' => $socialiteUser->getEmail(),
            // Create a random password since social login is primary
            'password' => bcrypt(Str::random(24)),
            $providerIdField => $socialiteUser->getId(),
            // You may need to verify the email address here based on provider data
            'email_verified_at' => now(),
        ]);

        // SPATIE ROLE LOGIC: Assign 'subscriber' role only on first creation
        // IMPORTANT: Ensure the 'subscriber' role is seeded in your database!
        // $user->assignRole('subscriber');  // this is optional if using spatie role permission package

        return $user;
    }
}
🛣️ Step 6: Add Routes
Open your routes/web.php file and add:
use App\Http\Controllers\Auth\SocialiteController;

Route::group(['prefix' => 'auth'], function () {
    Route::get('{provider}/redirect', [SocialiteController::class, 'redirectToProvider'])->name('social.redirect');
    Route::get('{provider}/callback', [SocialiteController::class, 'handleProviderCallback'])->name('social.callback');
});
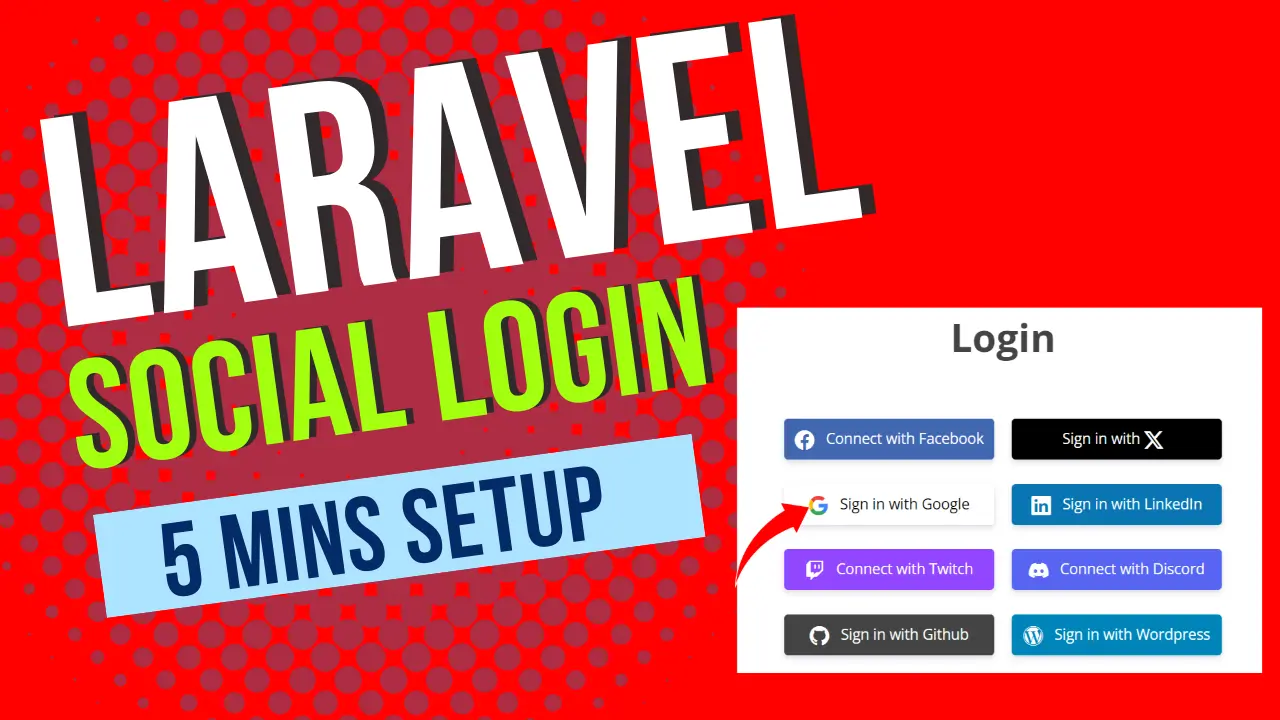
🎨 Step 7: Add Social Login Buttons in Blade View
Now, open your login.blade.php or register.blade.php file and add this section:
<div class="social-auth-links text-center mb-3">
    <p>- OR -</p>

    <a href="{{ route('social.redirect', 'google') }}" class="btn btn-block btn-google">
        <i class="fab fa-google mr-2"></i> Sign in with Google
    </a>

    <a href="{{ route('social.redirect', 'facebook') }}" class="btn btn-block btn-facebook">
        <i class="fab fa-facebook-f mr-2"></i> Sign in with Facebook
    </a>

    <a href="{{ route('social.redirect', 'github') }}" class="btn btn-block btn-github">
        <i class="fab fa-github mr-2"></i> Sign in with GitHub
    </a>
</div>
You can style these buttons using Bootstrap, Font Awesome, or any CSS of your choice.
📝 Step 8: Register Your App on OAuth Providers
Before testing social login, you need to create apps on each provider’s developer portal and get the API credentials:
1. Google (Gmail Login)
-
Go to Google Cloud Console.
-
Create a new project → OAuth Consent Screen → Configure scopes.
-
Go to Credentials → Create Credentials → OAuth Client ID → Web Application.
-
Add your redirect URI: http://127.0.0.1:8000/auth/google/callback
-
Copy Client ID and Client Secret into your
.env.
2. Facebook
-
Go to Facebook for Developers.
-
Create a new app → Add Facebook Login product.
-
Add redirect URI: http://127.0.0.1:8000/auth/facebook/callback
-
Copy Client ID and Client Secret into your
.env.
✅ Step 9: Test the Social Login
-
Run the application:
php artisan serve -
Visit
http://127.0.0.1:8000/login -
Click Sign in with Google (or Facebook/GitHub)
-
You’ll be redirected to the OAuth page, approve access, and come back logged in 🎉
🎯 Final Words
You have successfully set up Laravel Social Login using Socialite for multiple providers including Google, Facebook, LinkedIn, and GitHub.
You can extend this setup further by adding Twitter, Slack, or Twitch — just follow the same steps for each provider.
Adding social login improves user experience and reduces registration friction — making it a must-have feature in modern Laravel applications.
📢 Need Help?
If you’re building a professional Laravel website and want expert help with social login, 2FA, or admin dashboards — contact Vfix Technology, your trusted Laravel development partner.
For custom web development project contact us on whatsapp: https://wa.me/918447525204
Tags
Share :